Is your sweet plant looking a little snug in its pot? Join us for a peaceful journey into repotting, transforming it into a cozy ritual of growth and love. Discover how to give your green friends the space they need to thrive, all while embracing a moment of calm.
Nurturing New Beginnings: A Gentle Guide to Repotting Your Beloved Plant Babies
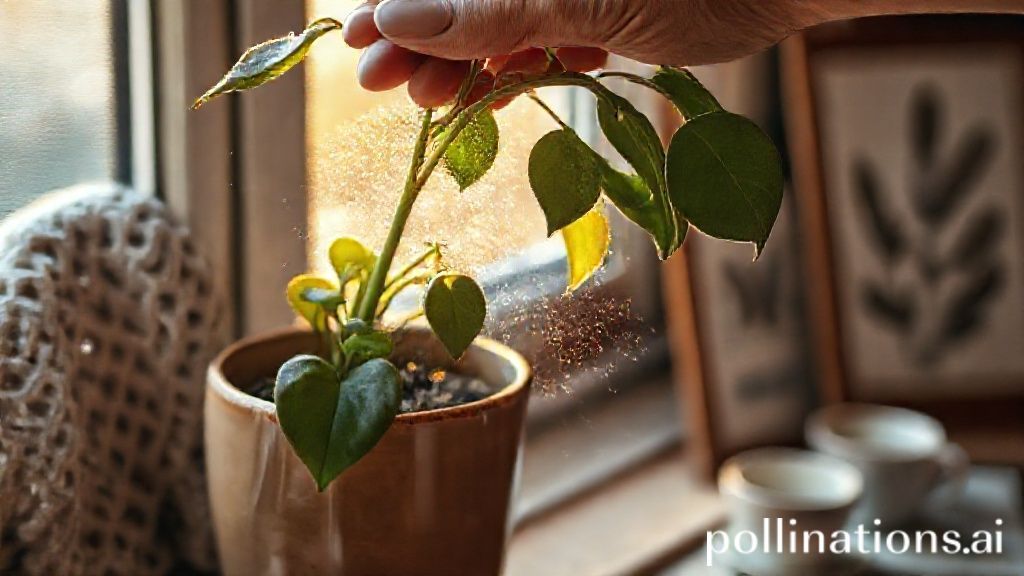
Oh, darling plant parent, have you ever looked at your leafy companions and felt a little nudge? Perhaps they're whispering for more room to stretch their happy roots! Repotting might sound like a grand gardening task, but think of it as a tender, mindful ritual – a quiet afternoon spent showering your green friends with love and giving them the cozy embrace of a fresh start.
Why Your Plant Might Be Asking for a New Home
Just like we sometimes need a little more space to truly unfurl, our plant babies eventually outgrow their current abode. Here are a few gentle hints they might be giving you:
- Roots peeking out: If you see roots circling the top of the soil, emerging from drainage holes, or creating a dense, tangled mat when you gently slide the plant out of its pot, it's a clear sign.
- Stunted growth: Is your usually vigorous grower looking a bit sluggish? Lack of room can hinder development.
- Quickly drying soil: If the soil dries out incredibly fast after watering, it means there's more root than soil to hold moisture.
- Toppling over: A top-heavy plant is often trying to tell you its roots can't anchor it properly.
When to Begin This Gentle Journey
The best time for a repotting adventure is usually in the spring or early summer, just as your plant is waking up from its winter slumber and ready for a burst of growth. This gives it ample time to adjust to its new surroundings before the cooler months arrive. However, if your plant is showing urgent signs of distress, don't hesitate to lend a helping hand whenever needed!
Gathering Your Cozy Repotting Essentials
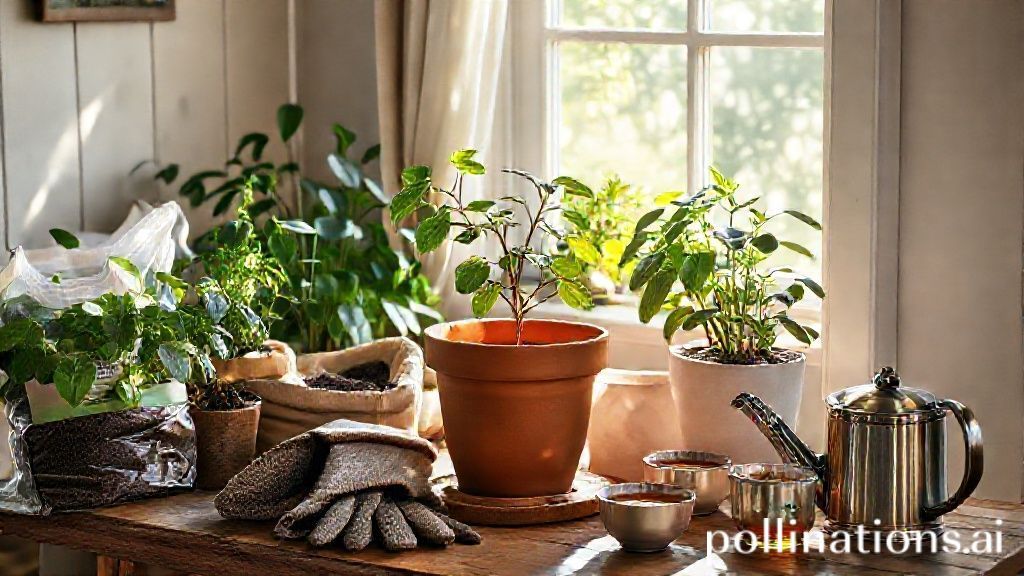
Before you begin, gather your tools like you're preparing for a lovely crafting session. This ensures a smooth, relaxing experience:
- A New Pot: Choose one that's only 1-2 inches larger in diameter than the current one for most plants. Too big, and the soil might stay wet for too long, leading to root rot. Terra cotta pots are wonderful for their breathability, evoking that classic cottagecore charm.
- Fresh Potting Mix: Opt for a high-quality, well-draining soil appropriate for your specific plant type (e.g., succulent mix, aroid mix, general houseplant mix). This is their new bed, so make it comfy!
- Gloves (Optional, but cozy!): If you prefer to keep your hands clean.
- Small Trowel or Spoon: For gently handling soil.
- Watering Can: For a refreshing drink post-repotting.
- Newspaper or Tarp: To protect your surface and make cleanup a breeze.
- Pruners or Scissors: For trimming any overly long or circling roots (use sterilized ones!).
The Gentle Art of Repotting: A Step-by-Step Embrace
- Prepare Your Space: Lay down your newspaper or tarp in a quiet, well-lit spot. Put on some gentle music or enjoy the natural sounds outside your window.
- Hydrate Your Plant: Give your plant a good drink of water an hour or two before repotting. This makes the soil easier to work with and reduces stress on the roots.
- Prepare the New Pot: Place a small amount of fresh potting mix at the bottom of the new pot. You want enough so that when your plant is settled, the top of its root ball is about an inch below the rim.
- Gently Remove the Plant: Turn the current pot on its side, gently wiggle the plant out, or carefully pull it from the base of the stem. Be patient and kind. If it's stubborn, you might need to gently squeeze the pot or use a knife around the edges.
- Examine the Roots: Gently loosen any circling roots at the bottom. If you see roots that are mushy (a sign of rot) or excessively long and matted, you can gently prune them with your sterilized shears. The goal is to encourage new, outward growth.
- Settle Into Its New Home: Place your plant into the new pot, ensuring it's centered. The top of the root ball should be at the same level as it was in the old pot – avoid burying the stem too deep!
- Add Fresh Soil: Gently fill around the root ball with new potting mix, lightly tamping it down to remove large air pockets. Leave about an inch of space from the top of the pot to the soil line for watering.
- A Gentle Drink: Give your newly repotted plant a thorough watering until water drains from the bottom. This helps the soil settle and eliminates any remaining air pockets.
Post-Repotting TLC: A Cozy Recovery
Your plant might look a little shocked for a few days, but that's perfectly normal! Place it in a spot with bright, indirect light – avoid harsh direct sun immediately after repotting. Hold off on fertilizing for about a month, giving its roots time to establish themselves in the new soil. Just offer consistent, gentle watering as needed, and plenty of love!
Repotting is more than just changing a pot; it's an act of care, a whisper of encouragement, and a lovely way to deepen your connection with the living beauty in your home. May your plant babies thrive, stretching their happy roots and gracing your space with even more vibrant life!