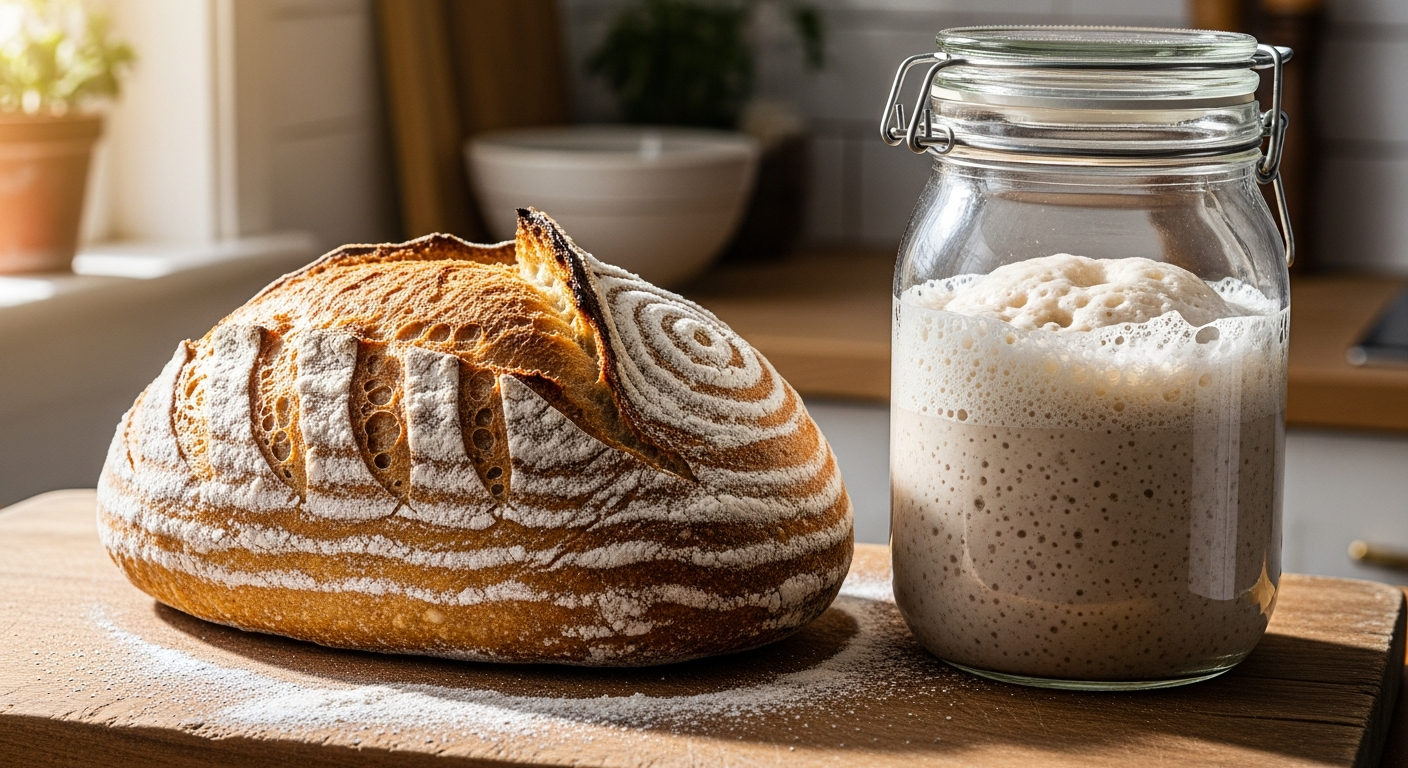
Dive deep into the captivating world of sourdough with this comprehensive guide designed for passionate hobby bakers. From nurturing your starter to achieving that perfect crust and airy crumb, unlock the secrets to consistently beautiful and delicious sourdough bread.
Mastering the Art of Sourdough: Your Comprehensive Guide to Perfect Loaves
Welcome, fellow passionate baker, to the captivating world of sourdough! If you've been enchanted by the idea of baking your own artisan bread – a loaf with a crackling crust, a chewy, open crumb, and a deeply complex flavor – then you've come to the right place. This comprehensive guide is designed for the enthusiastic hobbyist eager to move beyond basic recipes and truly master the art of sourdough.
Sourdough baking is more than just following steps; it's a sensory experience, a dance between flour, water, salt, and time, guided by the unseen magic of wild yeast and bacteria. It's a journey that rewards patience, observation, and a willingness to learn. Let's embark on this delicious adventure together.
The Magic Behind the Loaf: What Makes Sourdough Special?
Unlike conventional bread that relies on commercial yeast, sourdough bread is leavened by a 'sourdough starter' – a symbiotic culture of wild yeasts and lactobacilli. This living ferment performs several wonders:
- Complex Flavor: The fermentation process breaks down starches and sugars, producing a rich tapestry of flavors, from tangy to earthy, that evolve as the bread ages.
- Improved Digestibility: The prolonged fermentation helps predigest gluten and other complex carbohydrates, making sourdough often easier to digest for many people.
- Enhanced Nutrition: Fermentation can increase the bioavailability of nutrients and minerals found in flour.
- Natural Preservation: The acidity produced by lactobacilli acts as a natural preservative, giving sourdough bread a longer shelf life.
Your Living Legacy: Nurturing a Vibrant Sourdough Starter
Your sourdough starter is the heart and soul of your bread. It's a living, breathing entity that requires care and attention, but rewards you tenfold.
Creating Your Own: A Beginner's Journey
While this guide focuses on using a starter, a quick overview: a starter begins with just flour and water, attracting wild yeasts from the environment. Over about 7-14 days, with regular feeding, it develops into a robust, bubbly culture ready for baking. Many bakers also choose to get a starter from a friend or purchase one online.
The Ritual of Feeding & Maintenance
Consistency is key. Regular feeding (typically 1:1:1 ratio of starter:water:flour, e.g., 50g starter, 50g water, 50g flour) keeps your starter active and strong. For less frequent baking, storing it in the fridge slows its activity, requiring less frequent feeding.
Understanding Your Starter's Language
Learn to read your starter: Bubbles (good sign!), a sweet, tangy aroma (healthy!), and its rise-and-fall cycle after feeding (peak activity means it's ready for baking!). A neglected starter might smell like nail polish remover or be sluggish.
Essential Tools for the Sourdough Baker
While sourdough can be rustic, a few key tools make the process much smoother:
- Digital Scale: Precision is paramount in sourdough. Weigh everything.
- Dutch Oven: Crucial for achieving that incredible crust and oven spring.
- Banneton (Proofing Basket): Provides support and shape during proofing, and imparts a beautiful pattern.
- Dough Scraper: Indispensable for handling sticky dough.
- Lame (Scoring Tool): For precise cuts that guide oven spring.
- Large Mixing Bowls: For autolyse, mixing, and bulk fermentation.
- Kitchen Towels/Plastic Wrap: For covering dough during resting periods.
The Foundation: Quality Ingredients Matter
Sourdough is simple in its components, which means the quality of each ingredient shines through.
- Flour: A high-protein bread flour (12%+ protein) is ideal for structure. Experiment with whole wheat, rye, or spelt for different flavors and textures.
- Water: Filtered, non-chlorinated water is best. Chlorine can inhibit your starter's activity.
- Salt: Use non-iodized sea salt or kosher salt. Salt not only adds flavor but also controls fermentation and strengthens gluten.
The Sourdough Journey: Step-by-Step Baking Process
This is where the magic happens, broken down into manageable stages.
Autolyse: Hydration and Gluten Development
Combine flour and water and let it rest for 30 minutes to an hour. This step allows the flour to fully hydrate and enzymes to begin breaking down proteins, kickstarting gluten development without kneading.
Mixing & Incorporation
After autolyse, gently incorporate your active starter and then the salt. Some bakers add salt later to avoid inhibiting initial gluten development from the starter. Mix until fully combined, allowing the dough to rest for a short period before the next step.
Bulk Fermentation: The Heart of Flavor and Structure
This is the longest and most crucial stage, where the dough develops flavor and strength. Over 3-6 hours (or longer, depending on temperature and starter strength), you'll perform a series of stretch and folds – gently stretching a portion of the dough up and folding it over itself, rotating the bowl. This builds gluten structure without aggressive kneading.
Shaping: Building Tension for a Beautiful Loaf
After bulk fermentation, the dough is gently turned out onto a lightly floured surface. The goal of shaping is to create tension on the surface of the dough, which will help it hold its form during proofing and baking. Whether you choose a round 'boule' or an oval 'batard', skillful shaping is key to a beautiful loaf.
Proofing: The Final Rise
Once shaped, the dough undergoes its final rise, or proofing, usually in a banneton. Many bakers prefer cold proofing (retardation) in the refrigerator for 8-18 hours. This slows fermentation, deepens flavor, and makes the dough easier to handle and score. Alternatively, warm proofing at room temperature is faster but requires closer monitoring.
Baking: The Grand Finale
Preheat your Dutch oven to a high temperature (450-500°F/230-260°C). Carefully transfer your proofed dough into the hot Dutch oven. Scoring the top of the dough with a lame before baking allows for controlled expansion, creating a beautiful 'ear' and preventing blowouts. Bake with the lid on for the first 20-25 minutes (to trap steam for crust development), then remove the lid and continue baking until the crust is deeply golden brown (another 20-30 minutes). Let it cool completely on a wire rack before slicing.
Troubleshooting Common Sourdough Conundrums
Even experienced bakers encounter challenges. Here are a few common issues and their potential solutions:
- Flat Loaf: Weak starter, under/over-proofed dough, weak gluten development, poor shaping.
- Dense/Gummy Crumb: Not enough fermentation, underbaked, too much hydration, weak starter.
- Pale Crust: Not enough steam, oven not hot enough, insufficient sugar development from fermentation.
- No Oven Spring: Dough over-proofed, weak starter, not scored deep enough.
Elevating Your Craft: Advanced Techniques & Flavor Variations
Once you're comfortable with the basics, expand your repertoire:
- Inclusions: Add seeds (sesame, flax, poppy), nuts (walnuts, pecans), dried fruits (cranberries, apricots), or even cheese during the mixing stage for incredible flavor and texture.
- Different Flours: Experiment with varying percentages of whole wheat, rye, spelt, or einkorn flour to alter the taste, texture, and nutritional profile of your bread.
- Enriched Doughs: Introduce eggs, butter, or milk to create softer, richer sourdoughs like brioche or challah.
Beyond the Bread Basket: Sourdough Discard & Other Creations
Don't let your sourdough discard go to waste! It's an excellent ingredient for many delicious recipes that don't require leavening:
- Sourdough crackers
- Pancakes and waffles
- Pizza dough
- Biscuits
- Focaccia
The Sourdough Philosophy: Patience, Practice, and Pure Joy
Mastering sourdough is a journey, not a destination. Each loaf is a lesson, each challenge an opportunity to deepen your understanding. Embrace the imperfections, savor the successes, and most importantly, enjoy the process. The rhythmic nature of mixing, folding, and waiting is incredibly therapeutic, and the reward – a warm, fragrant loaf baked by your own hands – is immeasurable.
Keep experimenting, keep learning, and don't be afraid to ask questions. The sourdough community is vast and supportive. Welcome to a truly rewarding corner of the culinary world!
Ready to dive deeper into specific techniques? Explore our articles on 'Creating and Maintaining a Sourdough Starter', 'The Art of Sourdough Scoring', and 'Troubleshooting Your Sourdough Loaf' for more detailed guidance.