Ever wondered how to create those perfectly neat, hole-free crochet centers for your coziest projects? Join us for a charming, step-by-step journey into the magic circle, the secret to seamless starts for everything from adorable amigurumi to snuggly hats!
Mastering the Magic Circle: Your Whimsical Guide to Seamless Crochet
Greetings, fellow makers and dreamers! Today, we're delving into one of the most enchanting techniques in the world of crochet – the Magic Circle, sometimes affectionately called the Magic Ring or Adjustable Ring. If you've ever admired those beautifully snug crochet pieces with no gaping hole in the center, you've witnessed the magic circle at play! It’s the foundational secret to perfect amigurumi, seamless hats, and so many other delightful, cozy creations.
Fear not, dear friends! While its name might sound a tad mystical, mastering this technique is a delightful journey, and I’m here to guide you every step of the way with warmth and encouragement. Prepare to unlock a world of impeccably neat crochet starts!
What Makes it So Magical?
Unlike starting with a traditional chain-and-join method, the magic circle allows you to pull your initial stitches tight, closing up that central hole completely. The result? A perfectly snug, professional-looking center that makes your projects feel all the more lovingly handmade.
Gather Your Cozy Crafting Essentials
Before we begin our enchanting lesson, let's ensure you have your favorite tools ready:
- Crochet Hook: The size recommended for your chosen yarn.
- Yarn: A medium-weight yarn (like a worsted weight) in a light color is often easiest for beginners to see their stitches.
- Scissors: For snipping.
- Tapestry Needle: For weaving in ends.
Ready? Let's weave some magic!
Your Step-by-Step Journey to a Perfect Magic Circle
Follow these steps carefully, and remember, practice makes perfect – and perfectly cozy!
Step 1: Create Your Loop of Wonder
- Take the tail end of your yarn and drape it over the palm of your non-dominant hand.
- Wrap the yarn around your index and middle fingers once, forming a loop. Ensure the working yarn (coming from the ball) is behind the tail. This loop is where all the magic happens! Hold the intersection of the yarn with your thumb.
Step 2: Insert Hook & Yarn Over
- Insert your crochet hook into the center of the loop, under both strands of yarn.
- Yarn over (wrap the working yarn from the back to the front over your hook).
- Pull that yarn through the loop on your fingers, creating one loop on your hook.
Step 3: Secure with a Chain
- Yarn over again.
- Pull through the loop on your hook. This creates a slip knot on your hook, effectively securing your magic circle. This also counts as your first chain and helps hold everything together.
Step 4: Work Your First Stitches into the Loop
- Now, without removing the loop from your fingers, work your desired number of stitches (e.g., single crochets, half double crochets, or double crochets) into the large loop you've created on your fingers, and around the tail end. Yes, you're crocheting over the tail!
- For single crochet, you might do 6-8 stitches. For double crochet, perhaps 10-12.
Step 5: Pull to Close the Circle!
- Gently remove the loop from your fingers. You'll see your stitches forming a semi-circle around the yarn strands.
- Find that initial yarn tail you were crocheting over. Gently, but firmly, pull on it! Watch as your circle magically cinches closed, gathering all those stitches into a tight, neat center. Voilà!
Step 6: Join & Secure
- Once your circle is as tight as you can get it, join with a slip stitch into the first stitch you made (not the securing chain). This will complete your round.
- Give the tail another gentle tug to ensure it's still tight. You can then weave in this tail securely to further lock your magic circle into place.
Whimsical Wisdom for New Weavers
- Don't Rush the Magic: The first few attempts might feel a bit fiddly, and that's perfectly normal! Take a deep breath, perhaps sip some warm tea, and try again. Each attempt brings you closer to mastery.
- Mind Your Tension: Keep your tension consistent but not too tight that you can't pull the tail.
- Practice Makes Perfect: Try making several magic circles in a row just for practice. You'll be amazed at how quickly it becomes second nature.
- Light Yarn Helps: Using a lighter-colored yarn can help you see your stitches and loops more clearly when you're first learning.
Why Bother with This Enchanting Technique?
The magic circle is truly indispensable for projects where a tight, closed center is crucial. Think:
- Amigurumi: Those adorable stuffed creatures need a perfectly seamless start for their heads and bodies.
- Hats & Beanies: No one wants a breezy hole at the crown of their cozy hat!
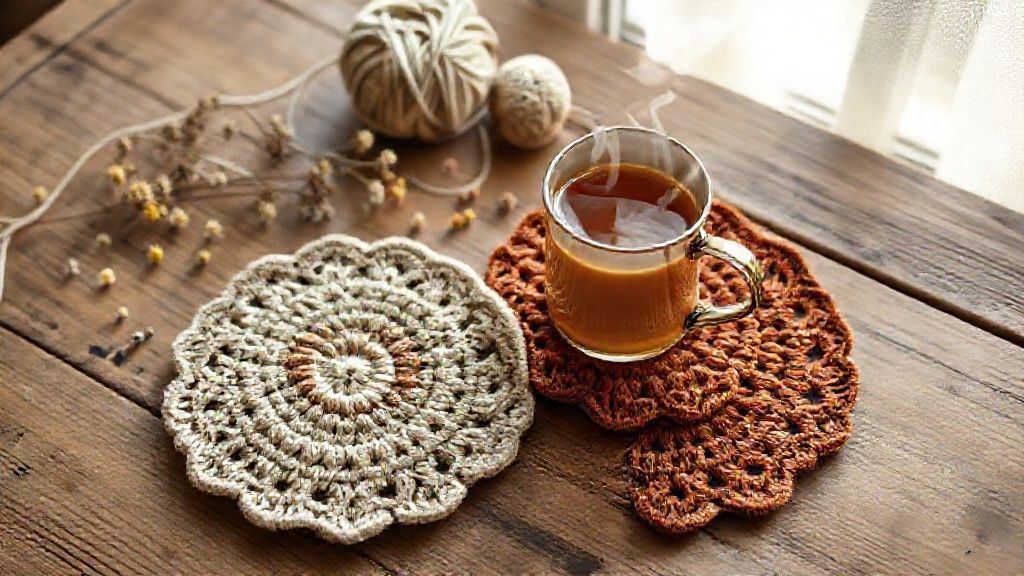
- Coasters & Mandalas: For a polished, professional finish.
So, there you have it, dear crafters! Your journey to mastering the magic circle has begun. Embrace the process, enjoy the quiet rhythm of your hook and yarn, and delight in the beautiful, seamless beginnings you'll now create.
What cozy projects are you dreaming of starting with your newfound magic circle skills? Share your thoughts and creations in the comments below – we'd love to see them! Happy crocheting, and may your stitches always be filled with warmth and whimsy!