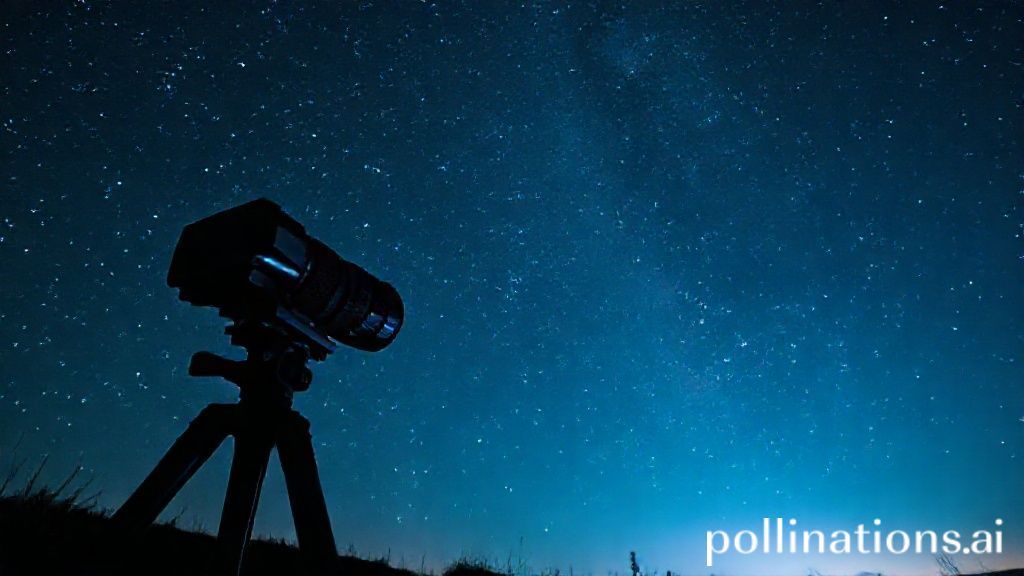
Dreaming of stars? Summer nights offer the perfect canvas to begin your journey into astrophotography. Discover how to capture the majestic Milky Way, even as a complete beginner, with our essential guide.
Capturing the Milky Way: A Beginner's Guide to Summer Astrophotography
Are you looking for a new hobby that combines the thrill of discovery with the beauty of the natural world? Gaze upwards on a clear summer night, and you'll find an entire universe waiting to be explored – and photographed! Astrophotography, especially capturing the majestic Milky Way, is a surprisingly accessible pursuit for beginners, and summer is the absolute best time to start.
Why Summer is Your Milky Way Season
Summer offers warmer temperatures, making those late-night sessions more comfortable. More importantly, the galactic core of the Milky Way – its brightest and most spectacular section – is highest in the sky during the late summer months for most of the Northern Hemisphere. This means clearer views and longer windows for capturing stunning shots.
Your Essential Beginner's Gear
Don't let intimidating setups scare you off. You likely already have some of what you need!
- DSLR or Mirrorless Camera: Most modern cameras with manual controls will work.
- Wide-Angle Lens: A lens with a focal length between 14mm-24mm (on a full-frame sensor, or equivalent on crop sensor) and a wide aperture (f/2.8 or wider is ideal) is crucial for gathering enough light.
- Sturdy Tripod: Non-negotiable for long exposures.
- Remote Shutter Release (Optional but Recommended): Prevents camera shake.
- Extra Batteries: Long exposures drain power quickly.
Basic Camera Settings to Get Started
These are starting points; you'll adjust based on your lens and light conditions.
- Aperture: As wide as possible (e.g., f/2.8, f/3.5). This lets in maximum light.
- Shutter Speed: Use the '500 Rule' as a guide to avoid star trailing. Divide 500 by your lens's focal length (e.g., 500 / 20mm = 25 seconds). For crop sensor cameras, factor in the crop multiplier (e.g., 500 / (20mm * 1.5) = 16 seconds).
- ISO: Start around ISO 3200-6400. Higher ISOs capture more light but can introduce noise. Experiment to find your camera's sweet spot.
- Focus: Set your lens to manual focus and focus to infinity. You might need to use Live View and zoom in on a bright star to get precise focus.
- White Balance: Auto white balance is fine, or try Kelvin between 3500K-4500K for a cooler, more natural look.
Finding the Perfect Dark Sky Spot
Light pollution is your biggest enemy. Use resources like Light Pollution Map to find the darkest skies near you. The further you are from city lights, the better your results will be. A new moon phase is also critical – check a moon calendar to plan your shoots around the darkest nights.
Tips for a Successful First Outing
- Scout Your Location: If possible, visit your chosen spot during the day to plan your composition.
- Dress Warmly: Even summer nights can get chilly in the open.
- Red Light Headlamp: Preserves your night vision.
- Apps are Your Friend: Apps like PhotoPills or SkyView can help you locate the Milky Way's core and plan your shot.
- Patience is Key: Astrophotography requires waiting. Enjoy the process and the quiet beauty of the night.
Capturing the Milky Way is an incredibly rewarding experience that allows you to connect with the universe on a profound level. With a little preparation and practice, you'll be creating breathtaking celestial images in no time. So, pack your gear, find a dark sky, and let the summer stars guide your new photographic adventure!