Imagine the aroma of freshly baked bread filling your cozy home, a golden crust waiting to be sliced. This whimsical no-knead recipe is your gentle invitation to embrace the simple magic of baking, perfect for a relaxing afternoon.
Bake Your First Loaf: A Whimsical No-Knead Bread Adventure
There's a special kind of magic in the simple act of baking bread. It's the gentle rhythm of mixing ingredients, the quiet anticipation of a rising dough, and the comforting aroma that eventually fills every nook of your cozy home. If you've dreamt of pulling a warm, golden loaf from your oven but felt intimidated by complex techniques, dear friend, this recipe is for you. Welcome to the enchanting world of no-knead bread!
The Enchantment of No-Knead Bread
What if we told you that the secret to a beautifully rustic, chewy-on-the-inside, crusty-on-the-outside loaf requires almost no effort? No-knead bread lives up to its name, relying on time rather than muscle. It's perfect for those who love slow living, savoring a creative hobby, and finding relaxation in simple, rewarding tasks. Let the yeast do the work while you enjoy a good book or tend to your indoor garden.
What You'll Need (Simple Pleasures)
Gather your simple treasures from the pantry and let's begin this delightful journey.
Ingredients:
- 3 cups (380g) all-purpose or bread flour
- 1 ½ teaspoons salt
- ½ teaspoon instant yeast
- 1 ½ cups (360ml) warm water
Equipment:
- A large mixing bowl
- A wooden spoon or spatula
- Plastic wrap or a clean kitchen towel
- A 6-quart (or larger) Dutch oven or heavy, oven-safe pot with a lid
- Parchment paper (optional, but recommended for easy handling)
Your Journey to a Golden Loaf (The Steps)
Step 1: The Gentle Mix
In your large mixing bowl, combine the flour, salt, and instant yeast. Give them a little whisk to ensure everything is evenly distributed. Pour in the warm water and stir with your wooden spoon until just combined. The dough will be shaggy and sticky – don't worry, that's exactly what we want! Avoid overmixing; just ensure there are no dry pockets of flour.
Step 2: The Long Slumber (First Rise)
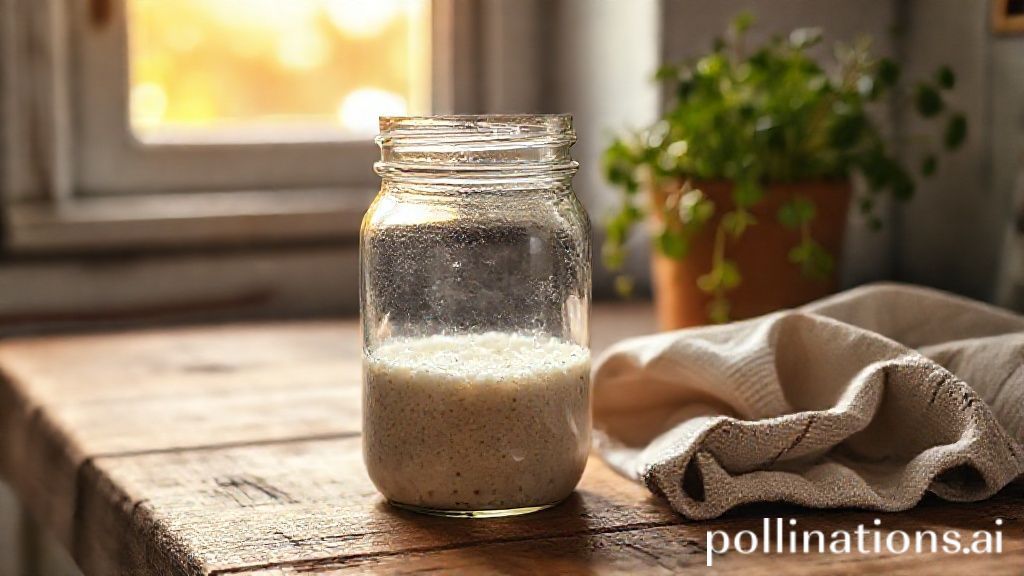
Cover your bowl with plastic wrap or a clean kitchen towel and place it in a cozy spot on your counter. Let it rest for 12-18 hours (or even up to 24 hours!). This long, slow fermentation is where the magic happens, developing all those wonderful flavors and textures. The dough will double in size and be dotted with bubbles.
Step 3: A Floury Dance (Shaping)
After its long rest, generously flour a clean work surface. Gently scrape the dough out onto the floured surface. With floured hands, lightly fold the edges of the dough towards the center a few times, shaping it into a rustic ball. Don't knead it; just aim for a loosely formed sphere. If using parchment paper, gently place your dough ball onto a square of parchment.
Step 4: The Final Nap (Second Rise)
Carefully transfer the dough (on parchment paper if using) to a bowl lined with a floured kitchen towel or directly into a proofing basket. Cover it and let it rest for another 30-60 minutes while your oven preheats. This short rest helps the loaf maintain its shape.
Step 5: Into the Warm Hearth (Baking)
About 30 minutes before your dough's second rise is complete, place your Dutch oven (with its lid) into your cold oven and preheat the oven to 450°F (230°C). Once preheated, carefully remove the very hot Dutch oven. Gently lower your dough into the hot pot (using the parchment paper as a sling makes this wonderfully easy).
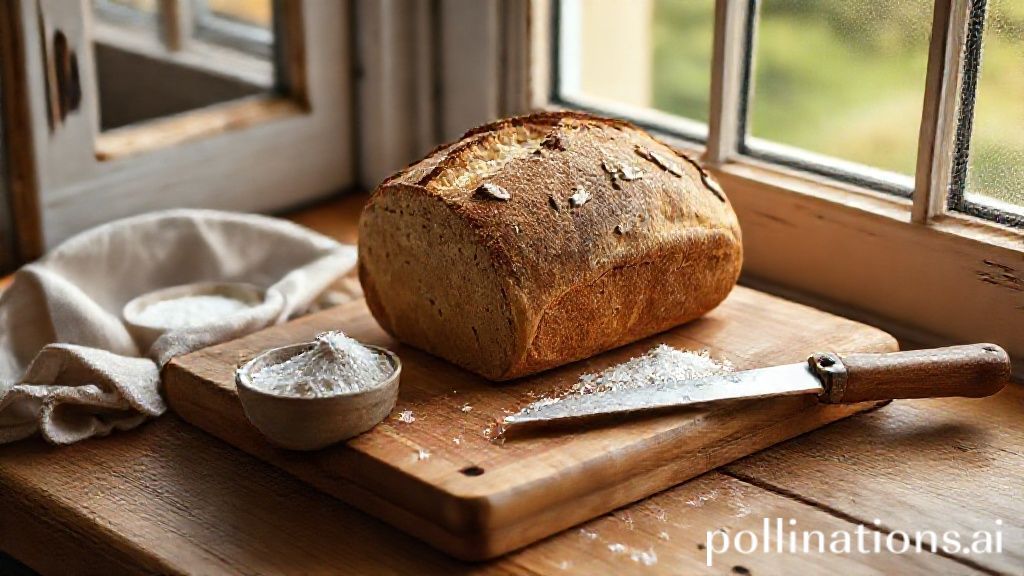
Cover the Dutch oven and bake for 30 minutes. Then, remove the lid and continue baking for another 15-20 minutes, or until your loaf has a beautiful, deep golden-brown crust. The aroma filling your home will be utterly divine!
A Few Whispers of Wisdom
- Patience is a Virtue: The long rise is crucial. Don't rush it!
- Handle Gently: No-knead dough is delicate. Treat it with a tender touch.
- Hot Pot, Hot Oven: Preheating the Dutch oven is key to achieving that glorious crust.
- Cool Down: Let your bread cool on a wire rack for at least 30 minutes before slicing. This allows the internal structure to set, preventing a gummy texture.
Savor the Magic
And there you have it! Your very own, handcrafted loaf of no-knead bread. Slice it thick, slather it with butter, dunk it in soup, or simply enjoy it plain. This simple act of creation brings immense joy and a comforting warmth to your cozy abode. May your kitchen be filled with the sweet scent of success, and your heart with the quiet satisfaction of a baker. Happy baking, dear one!